

To capture Positive Feedback, simply click on the Add button in the Positive Feedback screen, as illustrated in the screenshot.
A Positive Feedback window will then open, allowing you to enter certain key details.
The first field allows you to record who the Feedback is in relation to. It can be in relation to a Client, Carer or member of Staff. If you select one of these, you will be able to search on that particular Profile Type using the pink search icon, and link the Feedback to the Profile of the person in question. Once linked, the Feedback will also appear in the Notes section of that particular Profile.
![]() If you do not wish to link the Feedback
to any Profile, you can leave this field blank.
If you do not wish to link the Feedback
to any Profile, you can leave this field blank.
You can also record the category of the Feedback, the date, the details of the Feedback, the action taken and the outcome. It isn’t necessary for you to record all of this information when capturing the Feedback; only the fields with a red asterisk are mandatory. With regard to the optional fields, you can always choose to leave them empty and update the information at a later date.
You are also able to attach documents to the Feedback via this window. To do so, select the Docs button and a new window will open allowing you to search your local machine for documents you wish to attach.
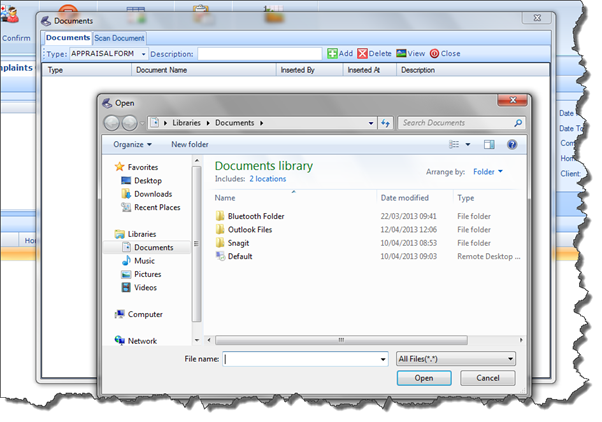
Once a Document is saved to the Feedback, it will be accessible to all Users within the organisation. When you are satisfied with what you have recorded, click Add to save the Feedback into the system.