

A Client Profile may have one or multiple Schedules. Schedules can be:
ü In Progress
ü Completed
To create a Schedule on a Client Profile, access the Schedule subtab that is located at the top right hand corner of the Client information pane, as shown in the screenshot below.
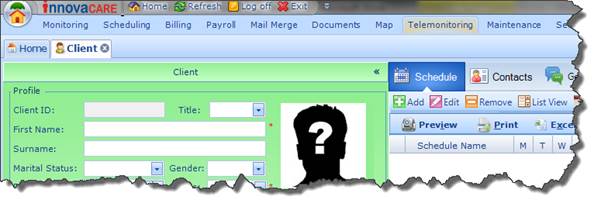
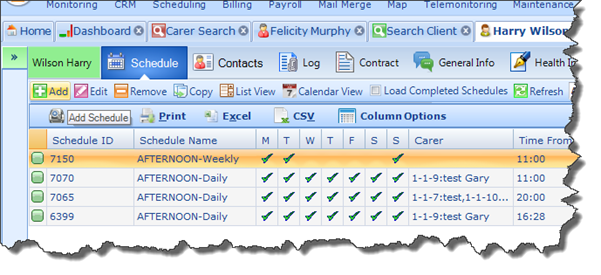
Here, ensure that you are viewing the Schedule screen in List View. Then click Add.
This will open the Client Scheduling Wizard. To successfully create a Schedule, you will need to complete a number of steps. The following information is required (Information in bold is mandatory):
§ Select a service
§ Define schedule times/dates
§ Define Scheduling Billing Information
§ Assign a Carer(s) and define Carer’s Wages
§ Define Funding Category
If you wish you can add multiple Schedules at the same time by simply selecting more than one service on the first screen of the Scheduling Wizard.