

To generate a barcode you must define a Profile Type and then select the particular Profiles. To do this click on the pink icon beside Profile Type on the right hand side of the screen:
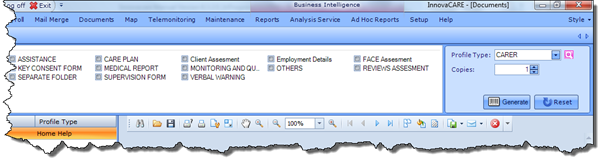
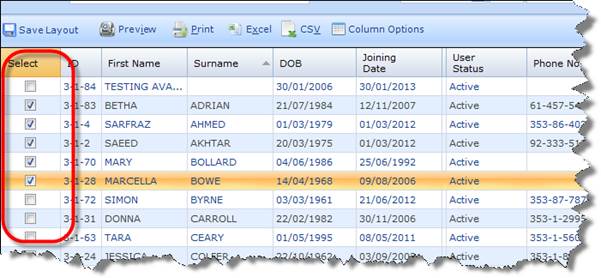
You can also define the number of copies you would like to generate for each Profile. By default, one copy per Profile will be generated. Clicking the Search Profile icon will open the search screen and allow you to select your desired Profiles, which is done by checking the checkboxes beside their names and clicking Select in the bottom right corner of the screen:
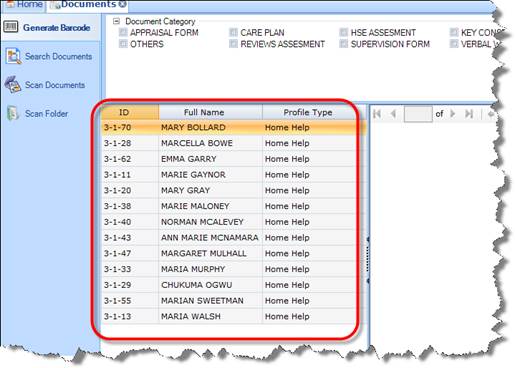
Once the Profiles have been selected, they will appear on the left hand pane of the Documents screen. Here you can see the Profile ID, the Profile Name and the Profile Type.
Next, you need to define the Document Category that the generated barcodes will be archived under. You can select either one Category or several, as shown below:
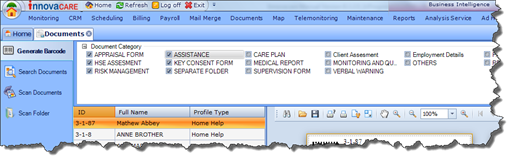
For example, in the screenshot above we have selected multiple Document Category types:
§ Appraisal Form
§ HSE Assessment
§ Risk Management
§ Assistance
§ Key Consent Form
§ Separate Folder
Once the Profile and Category are taken care of, select the Generate button to actually generate the barcodes. A barcode (or several copies) will be generated for each selected Profile and, within that Profile, for each selected Category. So if you chose three Profiles and three Categories, nine barcodes will be generated.
The generated barcodes will appear in the right hand pane, as shown below.
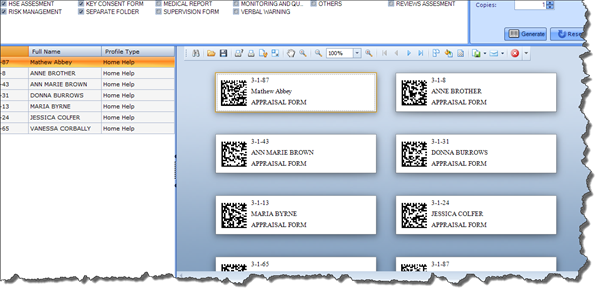
You can print the barcodes directly from the application, or you can export them to Excel, Word or PDF format and print them from your local machine. They will then be ready to be attached to the appropriate Documents.