

Once the wizard opens you will see a list of fields where you are required to capture several important details.
![]() First, define the Batch Name (Title) for the Mail Merge.
First, define the Batch Name (Title) for the Mail Merge.
If this is an Email Template, you can request a Read Receipt by checking the Read Receipt checkbox. This means that the recipient will be prompted to allow a notification (receipt) to be sent to you once they have opened your email.
Next you can define what Profile Types the Mail Merge will be sent to. This can be Client, Carer, Staff or Common (all Profile Types).
|
|
Please Note: The Profile Type you select will determine what Templates are made available to you in the section below. For example, if you have created 10 Client Templates, then you will only be able to choose from these if you select Client as the Profile Type for this Mail Merge. |
In the event that there are no Templates available for the Profile Type selected, you have the facility to create a new Template from this interface by selecting the pink icon, as shown in the screenshot below:
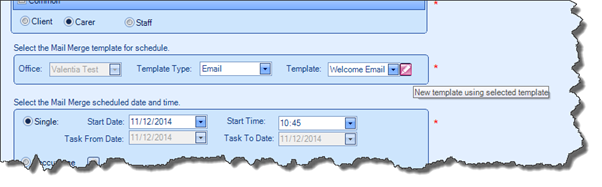
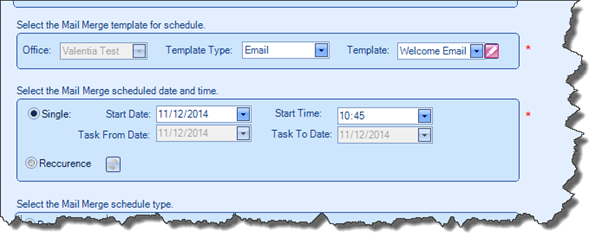
Once you have selected the Template Type and actual Template, you can define when it should be sent. If the Mail Merge is an email or SMS, you are able to define the date and time.
|
|
Please Note: Only Profiles with mobile numbers or email addresses are able to receive SMS/emails from the system. |
You can also define a recurrence pattern for your Mail Merge by clicking the Recurrence icon. This will open the Mail Merge Recurrence Pattern box, allowing you to define the rate of recurrence.